Documentation This documentation applies only to iceScrum v7.
For old iceScrum R6, read the documentation or migrate.
Register / login
To use iceScrum, you need an account. The default way to get an account consists in creating it by registering.
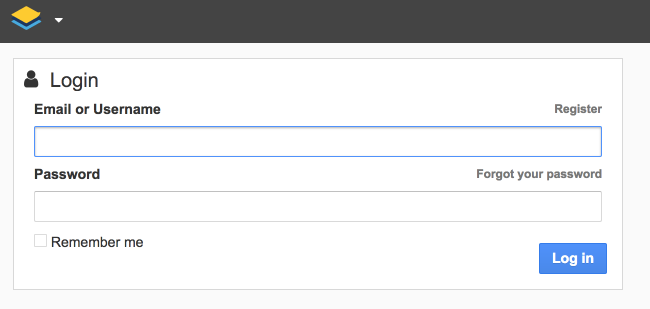
First, click on the Log in button to navigate to the login page. If you don’t have an account, click on the Register link.
Enter your information in the registration form. All fields are mandatory. Unlike the rest of the information choose your username wisely as you will not be able to change it.
![]()
Once the registration is complete, you will be redirected to the login page. Type your password to log in. Congrats, you just joined iceScrum!
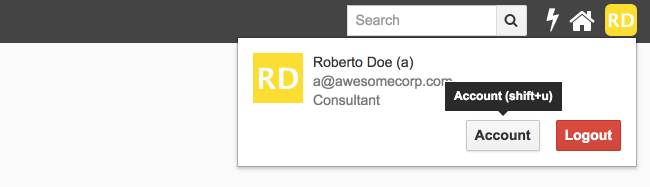
Once you are connected, you can update your account information by clicking on your avatar and then on the Account button.
Create and setup your project
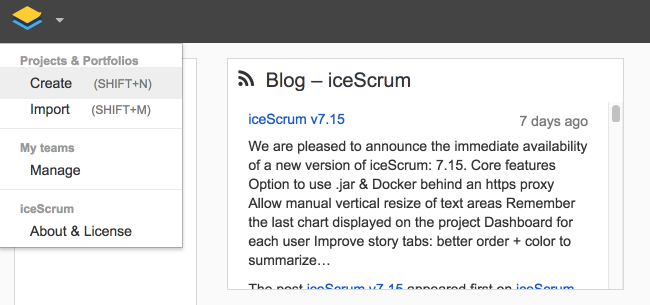
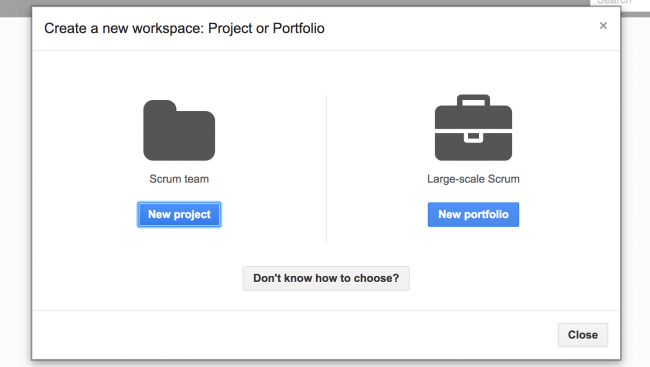
A project is an iceScrum workspace for one team to deliver product increments, so if you are new to iceScrum, the project creation wizard is a good place to start!
If you want to learn more about the different options iceScrum provide to manage product development, you can read the dedicated documentation.
Your project
Give your project a name, a key (a human-friendly identifier to construct project URLs) and decide its visibility: public projects can be accessed by anybody whereas private projects are restricted to their members.
![]()
Team and project members
When you create a project, you get all the permissions on it, which is equivalent to being Product Owner and ScrumMaster.
If you have already created a team you can choose it. Otherwise, you can create a new one by typing a new name. If you create a new team, you will be automatically included as ScrumMaster and you can add new members. Otherwise, the members are already defined and they cannot be changed here so you can skip to the next section.
![]()
Team: In a new team, you can look for new member in the search bar and choose the role:
- Team Members, which is the default role, who implement user stories through sprint tasks and can suggest stories in the sandbox
- ScrumMasters who have Team Member permissions and get additional permissions: planning, configuration, team…
Project members: Here you will define the Product Owners and Stakeholders of your project:
- Product Owners are responsible for your product vision: they refine user stories, accept them into the product Backlog, prioritize them and validate them once they are developed.
- Stakeholders are people interested in your project but who will not actively work on it. Stakeholders can be defined only on private projects because every registered user has Stakeholder permissions on public project.
![]()
A user can be both ScrumMaster and Product Owner in order to get all the permissions on the project. This is the only team role / project role that is allowed, iceScrum prevents other combinations. Trying to add a Team Member as a Product Owner will fail, you have to make it ScrumMaster first.
For more information regarding the roles, you can refer to the documentation: Roles, teams & projects. Once you have defined your team, you can go to the next step.
Define your practices
Default practices are well suited for getting started, let’s keep them for the moment.
Planning
Finally, you can define the lifecycle and to start the first release. By default, sprints last 2 weeks (14 days). If you check the box Create the first release and its sprints. The wizard will suggest that the first sprint start the day of the project creation. A release is planned, with a default duration of 3 months, starting the day of the project creation too. You can also define the vision of the release, which is what the product should look like at the end of the release.
![]()
After this last step, the project creation is done. Let’s give a look at the result!
Look at the results
You can now have a look at the result in the Planning view that has been initialized with the creation of the first release and its sprints, according to the default durations, in the step 4 of the wizard. Of course, release dates can be modified later and other releases can be created.
The Planning view shows the life of a product in the long-term, presented along the timeline, with the successive releases and the sprints contained in these releases.
![]()
Create features (optional)
Create Features
A feature is a service or functionality that is part of the product and provides value to end users. It is high-level and can be divided into stories. Read more about features in the dedicated documentation. In case you are more familiar with this term, iceScrum features are equivalent to what some call “epics”.
Features are managed in a dedicated view: the features backlog. For a new product, a top-down approach is often used, starting with the definition of features.
![]()
A different color can be used for each feature in order to ease the identification of stories associated with this feature. They also have an optional business value, a type (functional/architectural), a description, notes, tags and attachments.
![]()
Create your first story / product backlog item
A story is a product backlog item (often called PBI) that can either bring value to end users or to the team. Stories are usually a subdivision of features and are less valuable than them but much finer-grain so they are more manageable. In iceScrum there are three types of stories: user stories, defect stories (or bugs) and technical stories (often called spikes). Read more about stories and their workflow in the dedicated documentation.
The place where all team members can suggest stories is the sandbox, which is the waiting room for your product. You will find the sandbox in the Backlogs view of iceScrum.
Suggest your first stories
When you add a new story, you can define its type (user story, technical, default), describe it and optionally choose to associate it with a feature, give it a business value and/or make it dependent to another story.
![]()
When starting the project, the Sandbox can contain dozens of elements. It is the right place to complete the knowledge about a story. All the participants can contribute and add their comments/notes in the detailed view of the story.
![]()
Accept valuable stories
As soon as he thinks that a story is sufficiently detailed, the Product Owner evaluates it. If he thinks it brings value, it accepts it as a story, which moves it in the backlog of the Backlogs view. You can accept a story in its descriptive panel by clicking on the Accept button, or directly on the post-it if you click on “…”.
A little trick: if you want to accept/select/delete several stories all at once, you can activate the bulk selection with keyboard shortcuts (shift or ctrl + click).
Manage your product backlog
Thus, the backlog is the set of stories accepted by the Product Owner. In the backlog, the Product Owner can prioritize stories by ordering them and the team can estimate them. One can also estimate a story directly after accepting it by clicking on the Estimate blue button.
Prioritize your backlog
The Product Owner defines priorities by moving the post-its. The highest priority is at the top left of the view. Thanks to the Rank button you can also automatically sort your stories by type, effort, feature, date of creation, etc…
![]()
Estimate your stories
The team estimates the stories, generally through a planning poker session. The estimations are entered by a team member or by the ScrumMaster, by clicking on the ‘?’ on the Post-it or selecting it in the details panel.
By default, the evaluation can be done according to the Fibonacci suite. This can be changed by modifying the practices of your project. To do so, go to project’s dropdown menu (click on the iceScrum logo, in the top left of your screen) and click on Settings and then on Practices.
![]()
Advanced practices: You can estimate your stories by comparing them with your other estimated stories. To do so, click on the button next to the Value and/or Effort fields. A modal window will appear instantly with the stories you previously estimated and will give you an overview of those stories. This overview will remind you of the previous experiences and help you make the right estimation.
![]()
Plan your release
Plan your release
Release planning consists in the association of stories from the backlog to sprints of the release. Only estimated stories are candidate for planning and the sprints must also be created. It will be possible later to changes the association, e.g. by moving a story from one sprint to another one.
Once sprints of the release are created and the backlog is estimated and prioritized, the planning can be done. With iceScrum, the release planning can be done manually or automatically (iceScrum takes velocity and priority into account for automatic planning). Since velocity is not measured at the beginning, it is better to do a manual planning.
![]()
An easy way to plan a story manually is to open the Planning view and click on “…” and then on Plan, a new panel displaying all the estimated stories will appear and you can select all the ones you want to plan and then click on the Plan button. The list of stories appearing in the Planning view is the ordered list of estimated elements from the backlog.
To help you get started, the first release is automatically started.
Plan your sprint
Plan your sprint
To plan your stories in a new sprint, go to the Planning view and click on Plan. A modal will appear, displaying all the estimated stories you have in your backlog. Select the stories by clicking on each one you want to go in your sprint and then click on Plan again. Now you will see your planned stories when you go on the Task board view.
The Task board view displays a board with coloured margins representing the planned stories and post-its representing the tasks.
![]()
During sprint planning meetings, during which the team members identify the tasks, it is possible to create recurrent tasks which can be copied over the sprints and urgent tasks that doesn’t belong to a story.
When all the tasks are created, with their eventual remaining time and a person designated as responsible for it, the sprint can be activated to materialize the commitment agreed in the meeting.
Start your sprint
Congratulations, you are now ready to activate your sprint! You can do it from the Planning view:
![]()
Or from the Task board view:
![]()
Be careful, once a sprint is activated this cannot be undone!
Your team members will then be able to update the status of their tasks by dragging them to the column In Progress and Done and update their remaining time. Of course, other tasks can be created if necessary.
One last tip before letting you start: In all the views of iceScrum V7 you have many buttons to click on, some of them are blue. When the blue button is next to the “…” sign clicking on it will lead you to the next logical action, depending on your context, contained in the list of actions if you had click on “…”. For example if you go to the Sandbox a blue button will propose you to create a new story. Then if you click on this newly created story a blue button will propose you to accept it which is the logical next move for a freshly created story. And once accepted the same blue button will propose you to estimate it, etc… So keep it in mind, the blue button always helps!